A Unit of Time in the Shop
Published 25 Aug 2022
Tags: älgen, delfinen, scale length, strings, website
A delayed post, as I’ve been away for a little bit, and quite frankly it’s been a frustrating time in the workshop and as much as this journal is an attempt to report things as they happen, I don’t really think you all want to read about me just being stuck all the time. Thankfully in the end some progress was made, so let’s take a look.
Älgen
In the last set of notes I wrote about how I was struggling to operate the Mera Submarine tuners. Well I was back to it again this week:
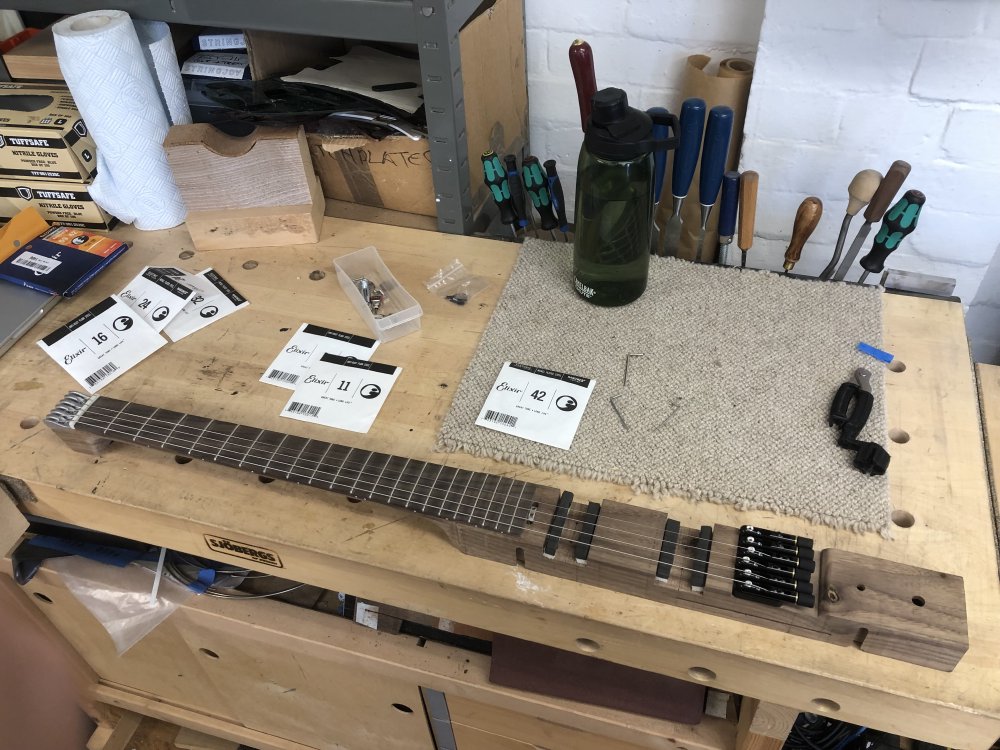
Again I struggled to get the tuners to work, and I was starting to lose confidence in them, or me, or both. The problem seemed to be that where the grub screw clamps down the string it just wasn’t holding: I’d get close to getting the string into tune and then it’d start to slip. It was very depressing to watch the tuner needle start going down again as I was turning the tuning knob to raise it higher. In particularly this was just for the thinner, higher strings. One obvious concern was that I just wasn’t getting the string under the grub screw, but you can see from the picture here that the string is clearly being compressed and not just pinched at the tip:
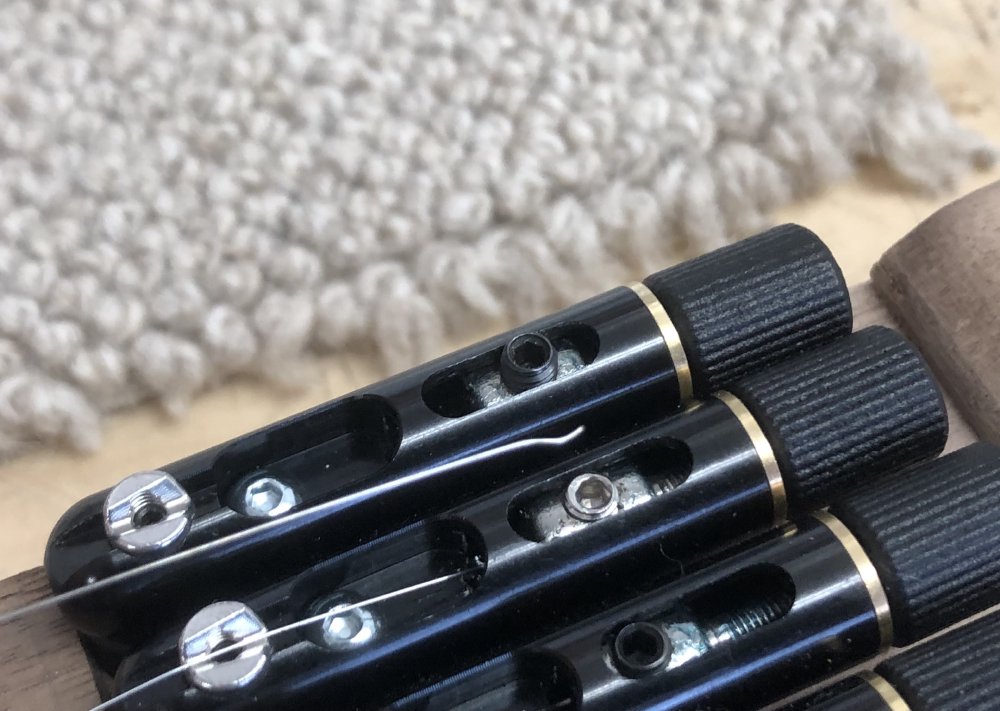
Before turning to Mera for support, I felt I should try and explore as many options as I could first - Mera are based in Kyiv and I was concerned that they’d have more pressing matters on their mind to worry about than responding to me (that turned out not to be the case, but it did cause me to really make sure I’d done my homework before reaching out).
You perhaps noted in the above picture that one of the grub screws is a different colour: I tried some other grub screws (both flat bottomed and pointed) to see if they’d do better, but to no avail. I also worried that perhaps it was just my preferred brand of strings might just not work well in this scenario: thankfully I had access to the workshop’s odd left over strings box:
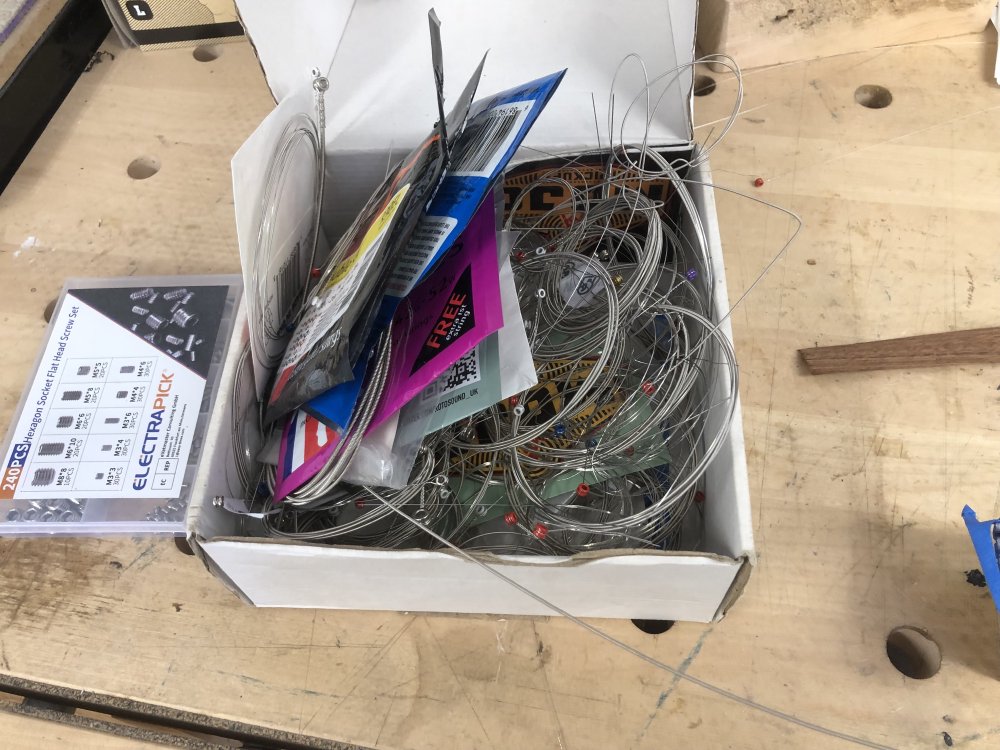
Going through this I tried various sizes and manufacturers of string, some of which did a little better, but ultimately none of them held.
Thus in the end I went back to Mera and explained all I’d done, and Dmitry got back to me in less than an hour with the solution - clearly I should have not struggled on and just got in touch with him sooner, though I guess doing all the above helped highlight the error more clearly for him. The problem was that I’d assumed all the bridge units are the same, but Dmitry pointed out that two of them have a narrower bore on the tube into which you insert the string, and those ones are intended for the thinner high strings. The difference in diameter is very subtle, and I’d never noticed it until I was directed to look for it, but sure enough I was using the units intended for the narrower gauge strings on the thicker strings, having not realised. I assume that when I previously got the guitar strung up I’d just got lucky with the ordering, otherwise I’d have hit this sooner (though that might have been a better time to realise perhaps).
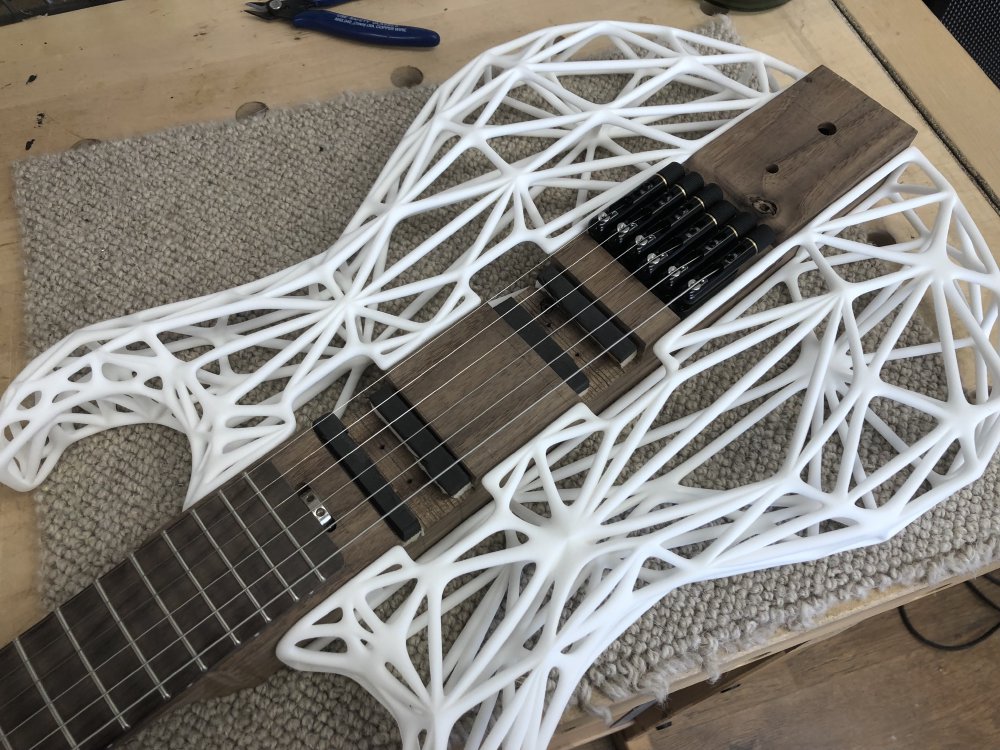
So, after a bunch of lost time, I thankfully had the guitar strung up once more - it was nice to get to sit and play it again. Indeed, it’s been so long that it’s easy to forget what I was meant to be doing! When I last had the guitar strung up the action was way too high, and so the last bit of work I’d done was to deepen the bridge recess so that the bridge sat lower, reducing the string action. After playing it for a bit I think it’s getting there, but I’m not ruling out that it might need to be a touch lower still.
But it’s close enough that before I do that I’m going to leave the guitar strung up for a week, so that the neck gets time to adjust to being under load, then I’ll recut the nut (which I’d left deliberately high at this stage) and adjust the truss-rod, and then I’ll decide if the bridge needs to come down a little more.
I also sat and played a bunch of different tunes in different styles on it to try and work out if the neck carve needs adjusting. I think I’ll want to adjust the transitions at either end a little bit to improve accessibility, but not by much.
Anyway, it was at least a positive end to what had been an otherwise frustrating day, but that’s how it goes some times.
Delfin
The main priority has been unblocking Älgens progress, so I’ve been neglecting the Delfin build a bit of late, but I did do a bit of prep on it. Having cut the neck pocket last week, I could now measure it up to work out where everything else is going to go. As I’ve written about before, everything on the body of the guitar has to be positioned relative to the nut on the neck (in theory you could define the fret positions on the neck from the body, but that seems a lot more work than this way round :). So now I know I have the neck pocket cut on the body, I can measure out where the bridge will be based on the instrument’s scale length:
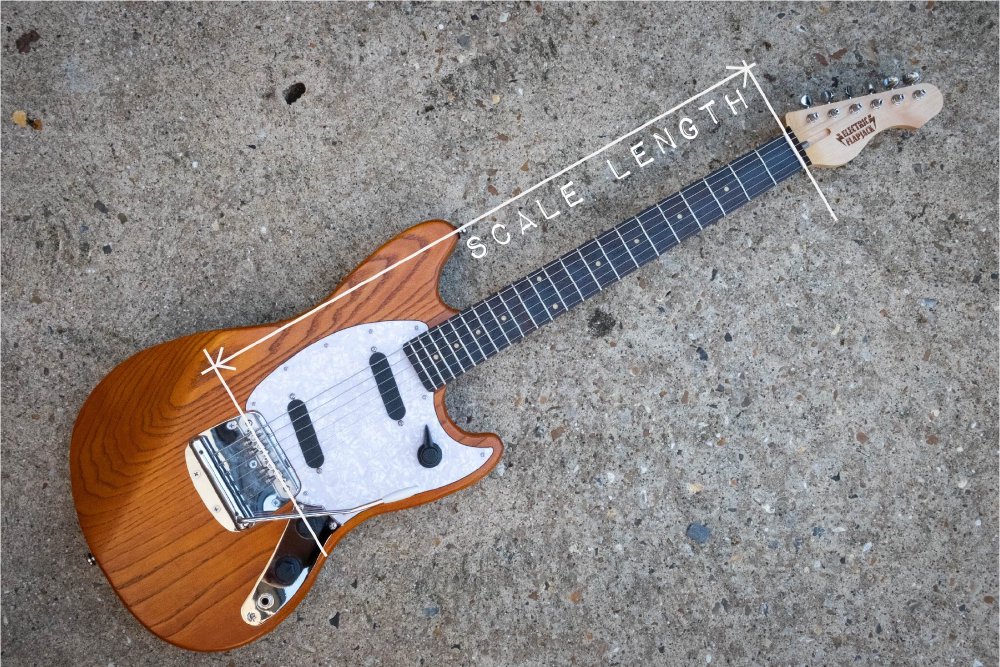
I know that for the Delfin the scale length is 24 inches, and I can measure that the neck end is 447mm from the nut, and so I know that the bridge needs to be another 161mm away into the body:
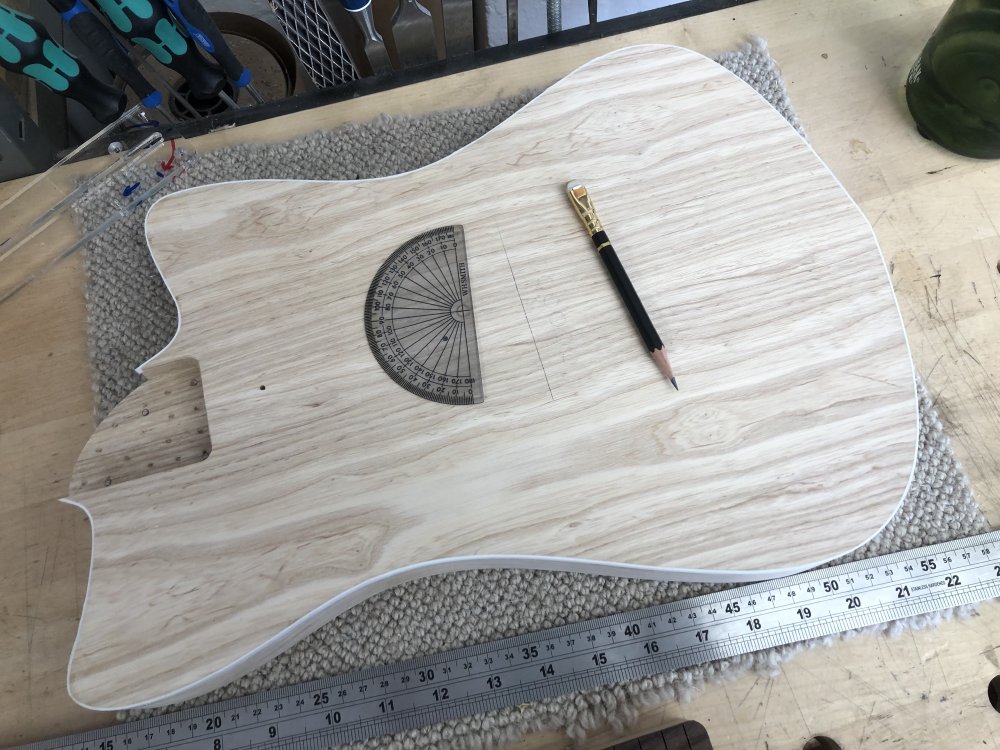
Actually, I also know that to intonate a guitar like this I’ll actually need to be a couple of millimetres further back still, which I wrote up in detail a few weeks ago when I did all this for Älgen. Now that I know where the bridge is, I can mark out where I want the pickups to be relative to that:
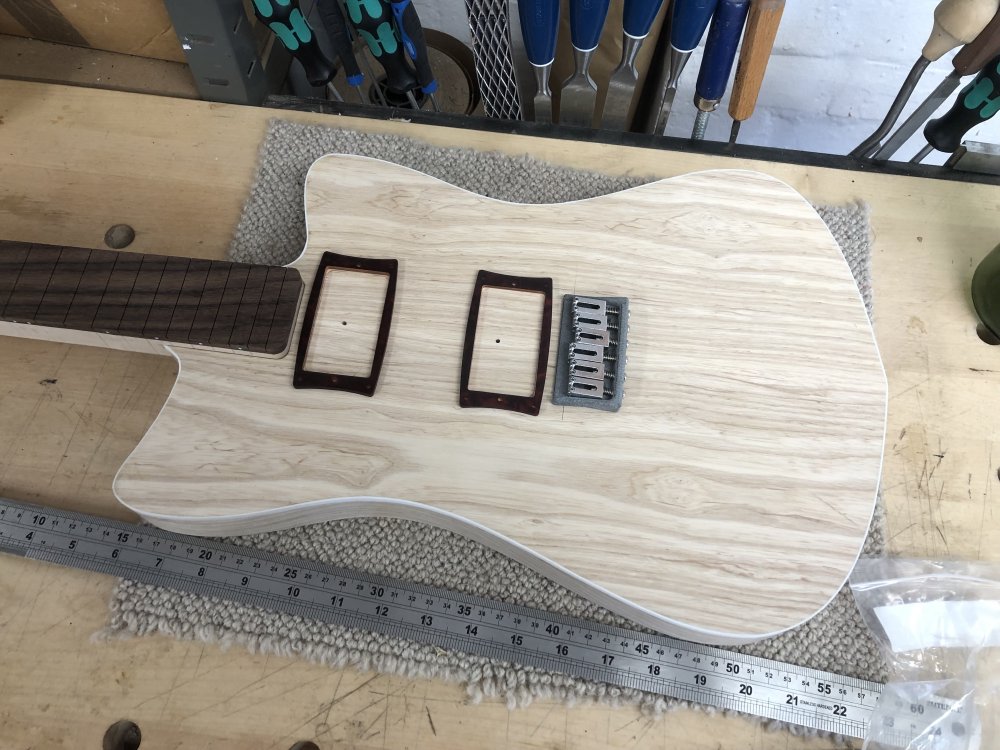
Which means I’m ready when I next have time in the shop to start making all the additional holes required in this body to turn it into an instrument.
Website
I’ve continued to fettle with the website a bit. Whilst the aim of this log is to share my results to so hopefully help others, it also acts as a personal workshop journal, and I was frustrated by how difficult it was under Squarespace to have a searchable website: in the end I’d usually have to go to a proper search engine to find things in my own blog!
Well, now I’ve fixed that for this and the other sites I run, by writing my own mini search engine that runs on my own server. So if I want to see what I’ve written about 3D printing, I can now head over to search, type in 3D printing, and bam:
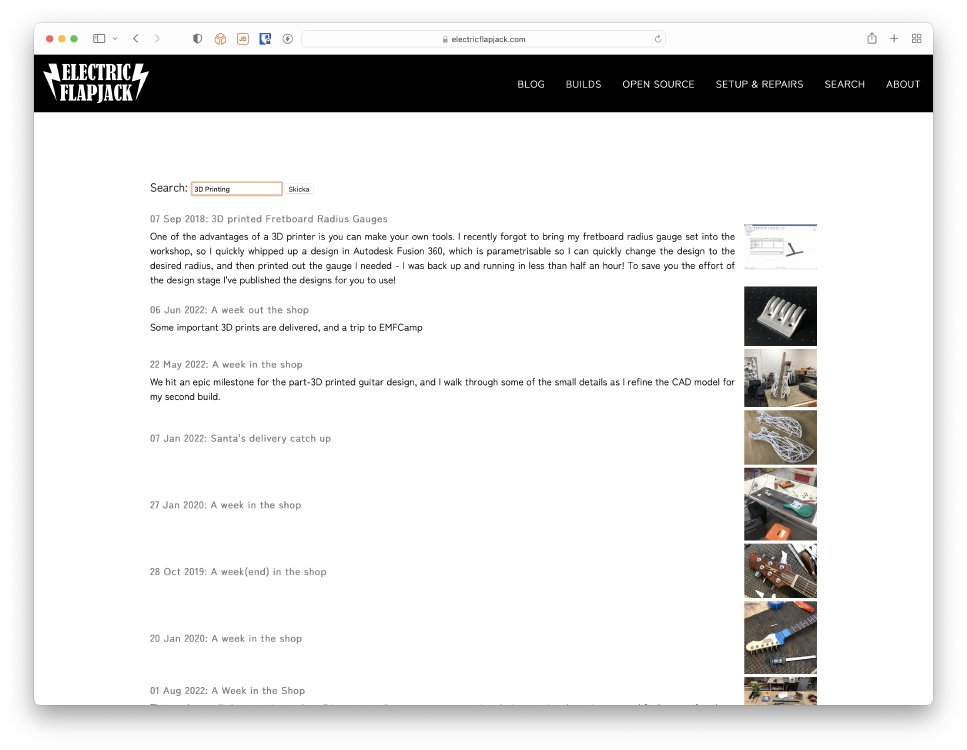
The results are a bit scrappy currently, as it currently only searches titles and tags, and I’ve not gone back and tagged all my posts yet. At some point I’ll add full text search too, but baby steps. It’s already more useful to me than the old website was, as it helped me find links to earlier posts whilst writing this post, so I consider even this minimal implementation a significant improvement.