Workshop catch-up: Maintenance and Repair Edition
Published 11 Aug 2024
This set of week-notes is a bit of a catch-up on one guitar I’ve been fixing up, and another I started reworking a little. Whilst it’s easier to get people excited about new builds, every luthier I’ve met does work to maintain, repair or restore old guitars. Even the best guitar if it’s being used will need occasional work: new strings being the most frequent and obvious one that most folk do themselves, but perhaps if you change style of string you’ll want a new nut and a truss-rod tweak, or over many years frets wear down and need replacing. And accidents happen, but if the instrument is loved then most musicians I’ve met would rather repair than replace as they have a strong connection to the instrument: it just feels right to them, or they think of the songs they’ve written or gigs they’ve performed on it.
The other reason maintenance is interesting is that it is what informs design. For instance, all my recent guitars have the electronics access on the rear, so that I don’t need to de-string the guitar to work on them, something that I chose to do after a long time working on Fender style guitars that make you do a lot of string changes when working on them.
So it’s nice to be able to reflect this week on this perhaps less glamorous but very important side of being a luthier.
The Family Strat-Clone
I last wrote about working on the old family strat-clone a couple of months ago, where I’d finished matching the chip taken out the fretboard at some point, and given the fretboard a deep clean to get it looking like new. What remained was a long list of odd jobs, which we’ll run through in this week’s notes.
Despite being happy with the cleaned up fretboard, it was looking a little bit too new almost, given the rest of the guitar I’d deliberately not swapped out the faded and off-coloured original plastics, and kept the original chipped and scratched, sorry patina’d, paint. So, rather than just put on some oil in the rosewood as I’d normally do, I used this as an excuse to try out some Monty’s Relic Wax, which I’d heard good things about, but had yet to try. This wax, in addition to stopping the wood drying out, gives the wood a slightly darker, older-looking tone, which I felt might work on this guitar.
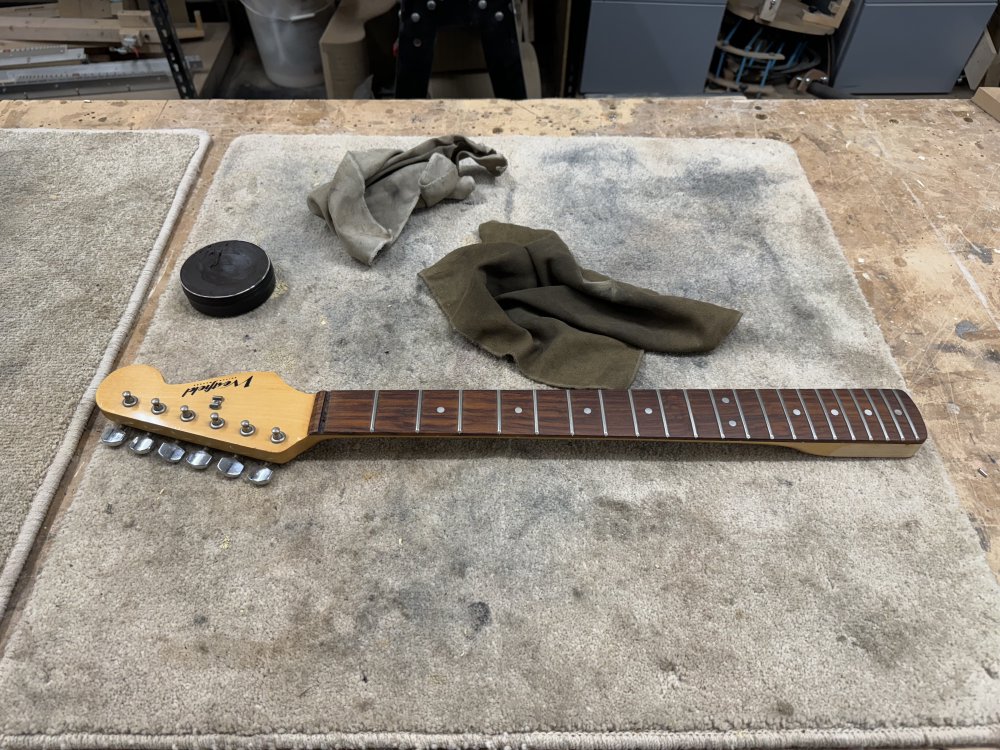
It’s not a radical transformation, but tone down the vibrancy of the fretboard compared to the rest of the guitar a bit, which I felt looked a bit better, and as a wax it worked quite well. I used it sparingly - the video made by Monty of how to use it has you almost burring the fretboard in the stuff, which seems a bit wasteful as I assume only the stuff in immediate contact does anything. Anyway, given I didn’t want it to look like ebony, just using a little worked fine, and I’m pleased with the results.
Time for yet another embarrassing admission. I wrote a few posts back about redoing the wiring on the guitar, about how I’d replaced the old broken pots, switch, and jack with new parts:
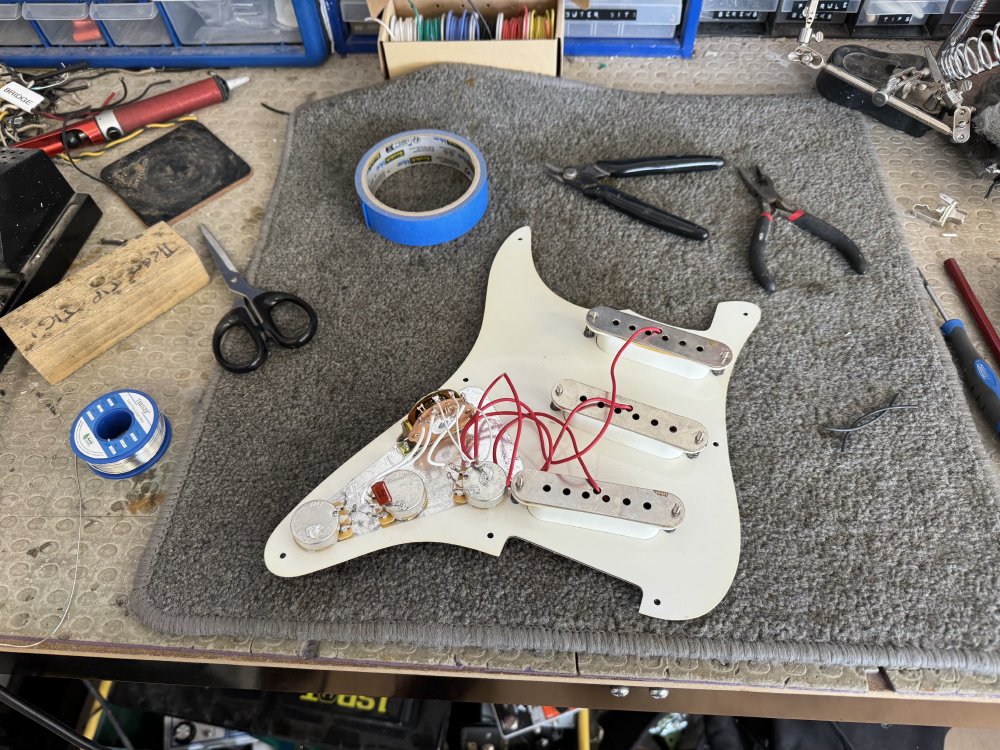
I’d never wired up a strat before, and the original pickup-selector switch in this guitar was one where you just attached the pickups and pots directly and it did all the fancy bits internally, whereas here I was doing it the traditional way. It’s not exactly rocket science, but there’s a lot of wires with this three pickup/5 way selector compared to my usual two pickup/three way selector circuits.
Anyway when I came to test the guitar with strings on, I plugged it in and… nothing. I checked the jack with a multimeter for all the various options, and there was nothing:
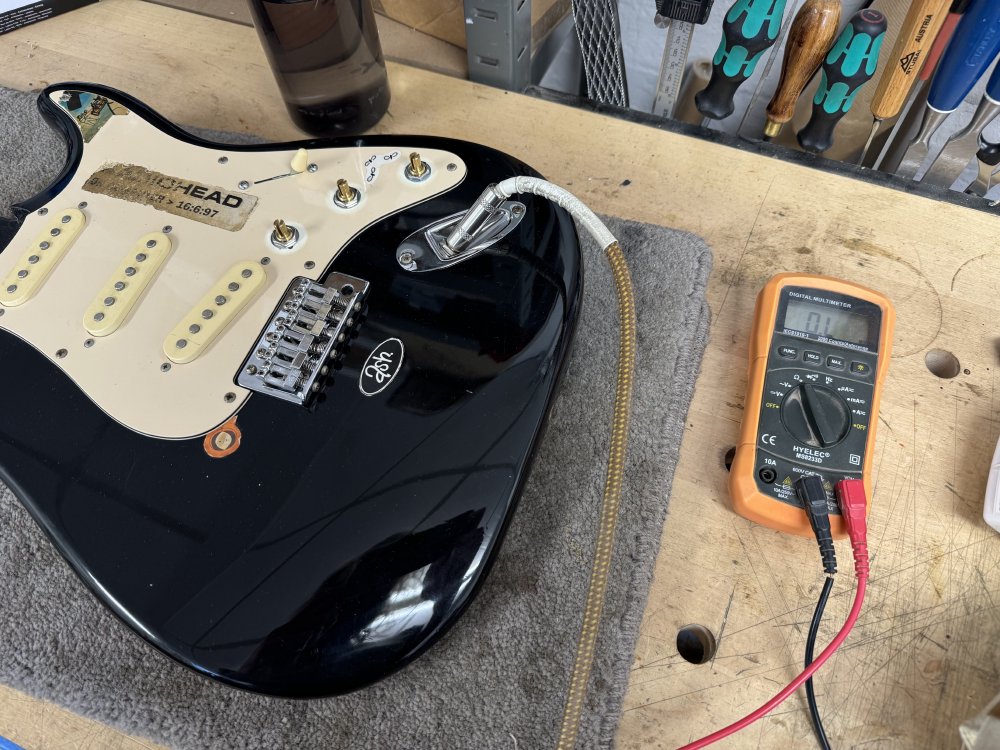
So I opened it up again, and went over every connection with a multimeter to see if I’d got a dodgy bit of soldering, but nothing was bad there. It took me five minutes to finally spot my mistake: I’d entirely missed one of the wires 🤦🏼
You might have felt I was labouring the point in the last set of workshop notes about how I tested all the connections on Hästen, and this is why - I’d just made this silly mistake a few weeks before :) Anyway, I share this just to remind you to double check your wiring before you put the guitar together, particularly on a circuit you’re not familiar with.
Having got rid of the original nut, I’d carved a new one for it from a bone blank, and with the guitar coming back together, it was time to get the nut finally properly carved as part of doing a full set-up on the guitar.
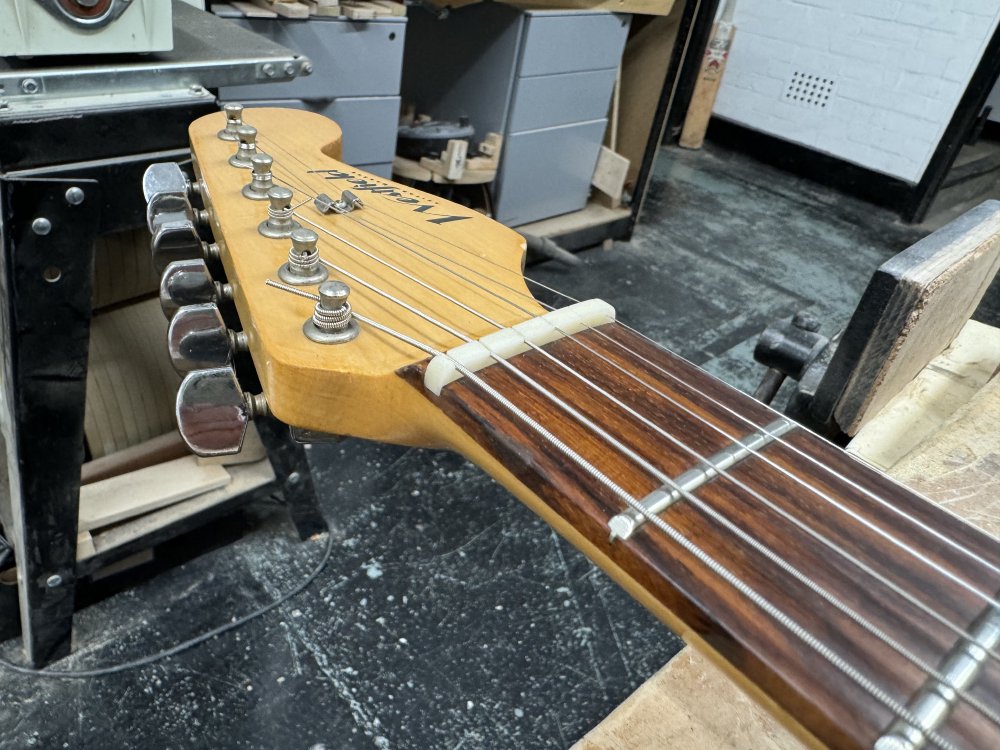
The original nut was black, which was a good look for the guitar, but the slot was quite wide, too wide for one of the graph-tech nuts I prefer to use, so given I was then going white, I felt I’d continue my current trend of making the nuts from scratch myself. I suspect a lot of people are in the position I used to be in, in not understanding that when you bend a guitar string, a common move in blues and rock guitar, the string actually moves through the nut, as you stretch the entire string, not just the bit over the fret-board. For this reason it’s important that the nut material is one that’ll exhibit low friction on the string itself. Bone works fine for this, but for synthetic material nuts you just need to to try a bunch and see what you like, and I’ve always enjoyed using the graph-tech ones when I can, but they do come in limited sizes (normally not a problem, just this nut slot was extra-wide).
The final job was to attach new strap-buttons. When I got this guitar back one was missing, and the other was loose. I’ve no idea how it got to this state, but it meant that before I could add a fresh pair of strap-buttons, I needed to fill and re-drill the holes, as ever using the finest of tone-woods: whatever tooth-picks are made from (wikipedia says birch):
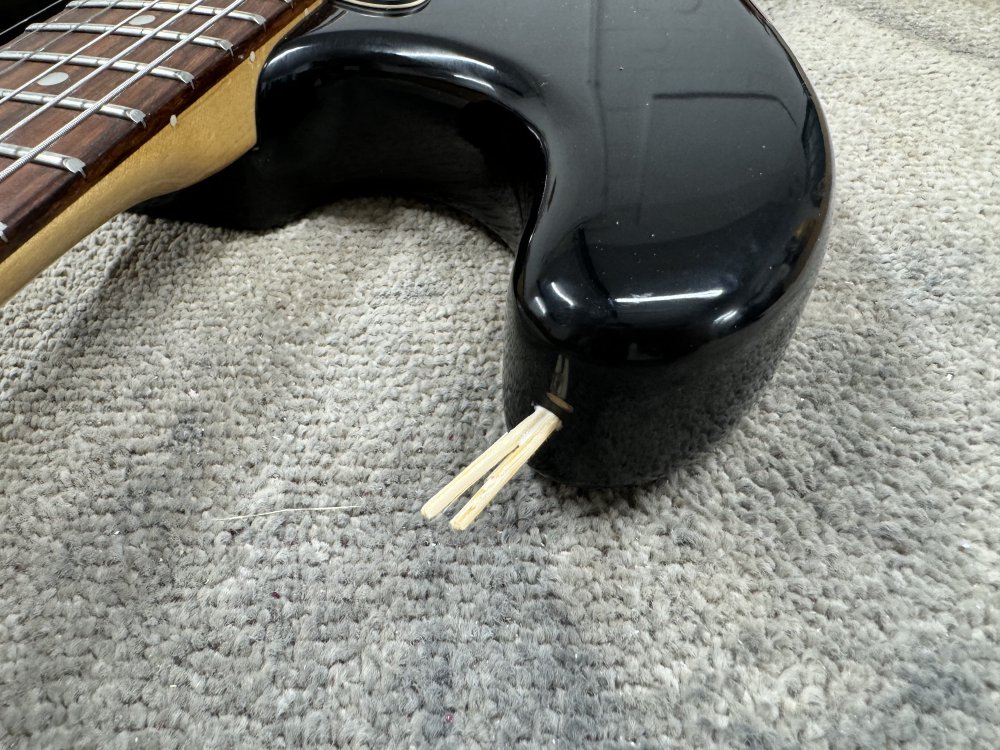
and
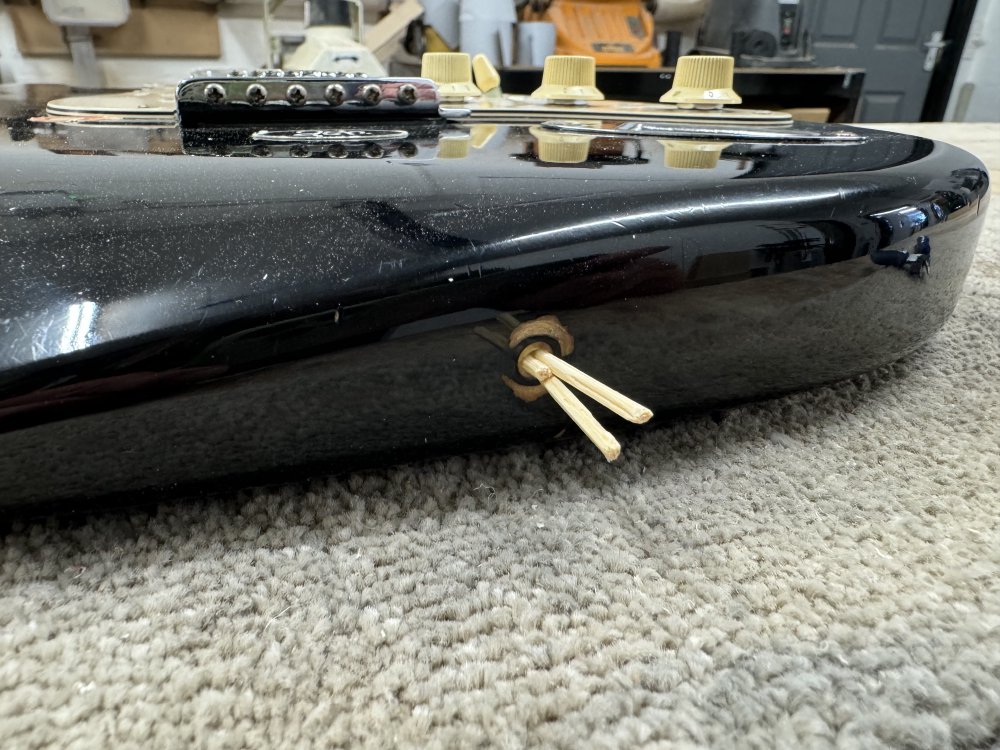
Once the wood-glue I used has had time to dry, I then trim the picks flush, using first pincers and then a chisel:
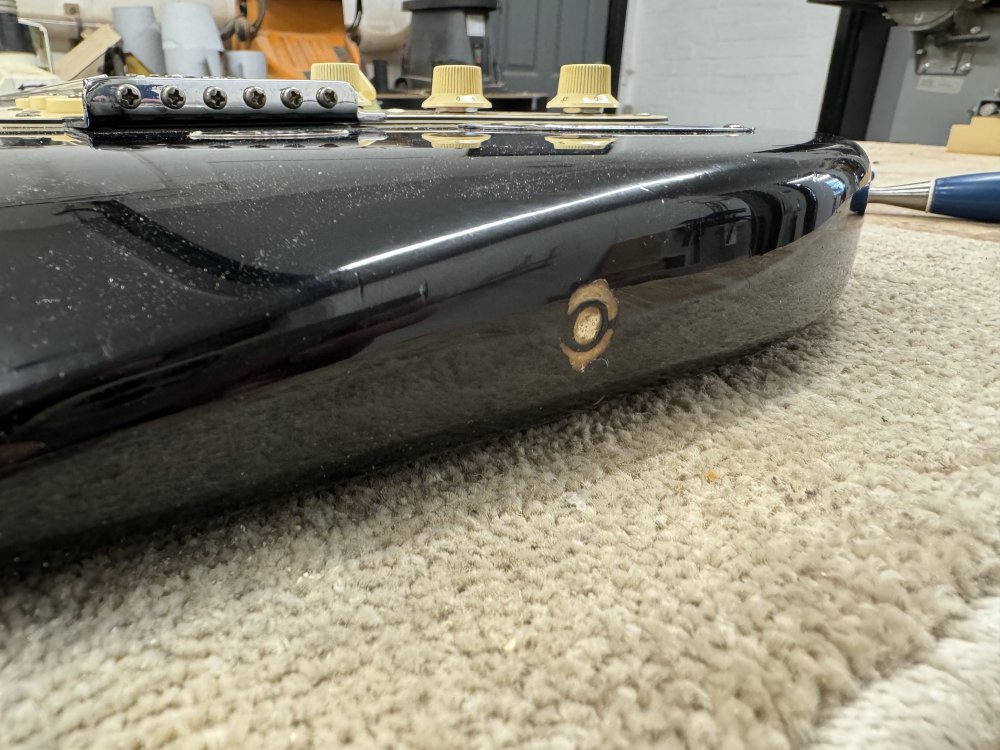
And with that I can then re-drill the hole and put in new strap-buttons. As ever, I didn’t plan ahead properly, and belated realised to drill the hole for the top strap-button I’d have to remove the neck 🤦🏼
I managed to do this without wasting the fresh set of guitar strings I’d just put on the guitar for doing the set-up.
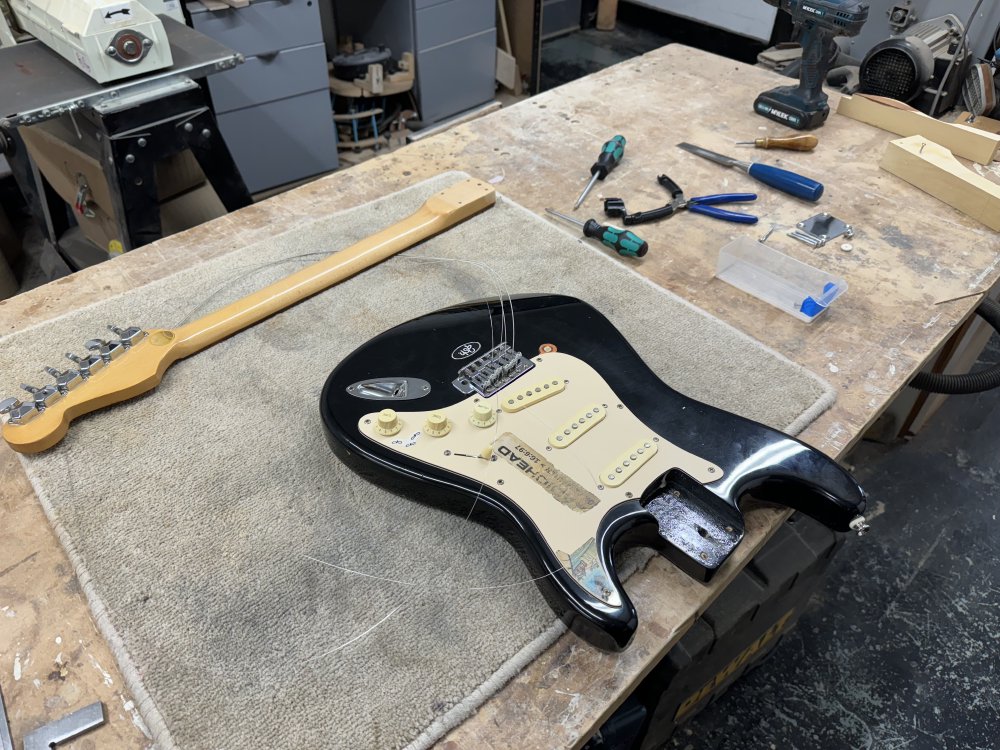
But with the strap-buttons on, the guitar is finally back in working order:
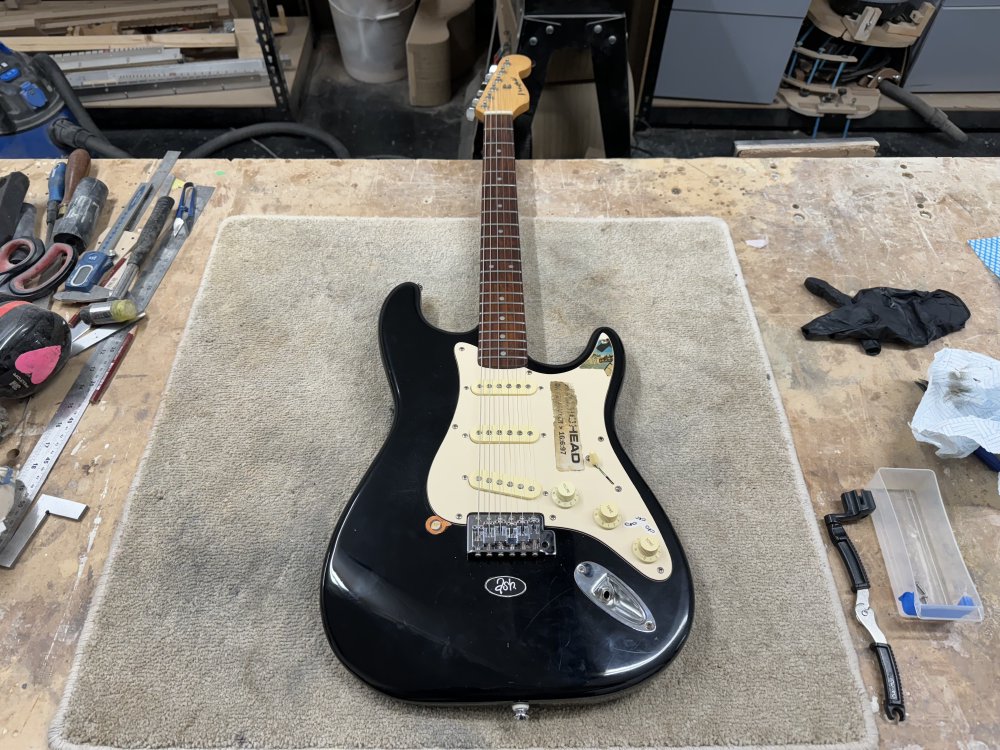
Despite having the stickers and scratches of having been around the block a few times, I’m fairly confident that I can say this guitar is now in better shape than it’s ever been in, and ready for another couple of generations of players:
I failed to make videos of me playing it, as I was tired from a long day in the workshop, but it plays great again.
Is there more I could do it? Definitely, but I don’t think it needs those things. The tuners are not the best, but they work, so I don’t see any point throwing them away whilst they still function. The fret-job isn’t up to the level I’d expect of one of my own builds, but for a budget guitar from thirty years ago, it’s actually quite good, not catching or anything. I’m not expecting this guitar to go on to Julian Lage, but rather to be a good guitar for the next generation or two to learn on, and for that I think it’s once again a great guitar, and I’m delighted with the transformation.
Updating my daily player
The guitar that I built for myself is The Blues Deluxe, a Tele-Deluxe style guitar with a couple of brilliant P90 pickups from House of Tone wound to match my preferences.
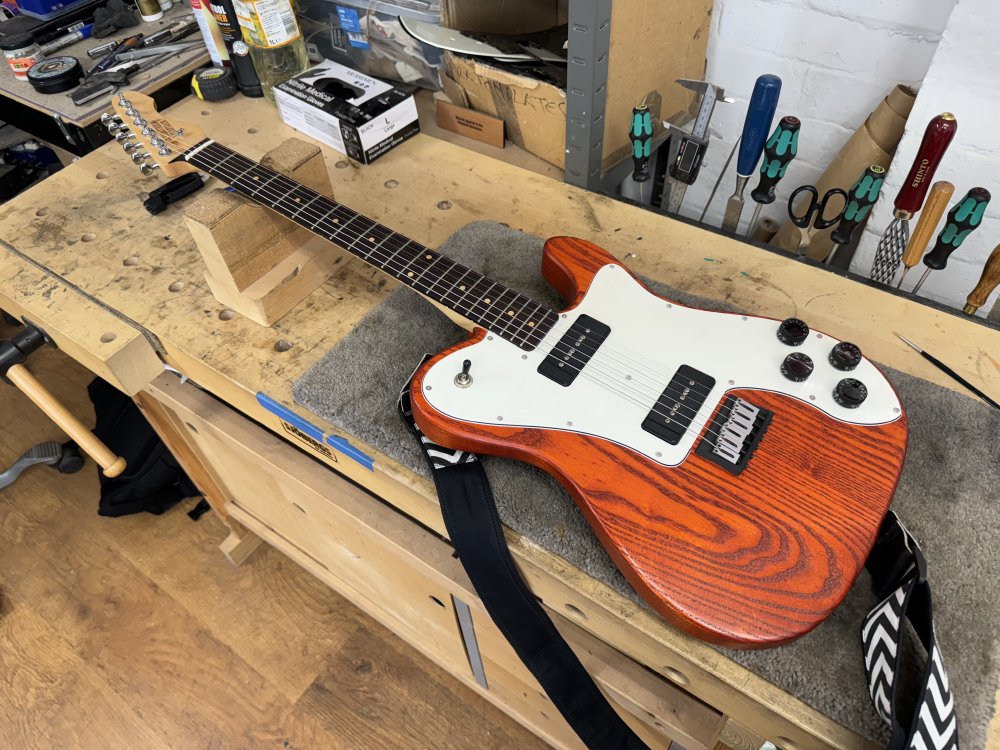
It was one of a pair of guitars I built that were the first two guitars where I built everything from scratch. It’s actually on its second neck, as the original warped when I glued the fretboard on, and whilst I played it like that for a couple of years, as I got to be a better guitar player eventually it bugged me enough I replaced that original spalted-maple neck with a maple neck with a wenge fretboard.
At the time I it was a major upgrade, going from effectively the first full neck I’d made to one built with a few years of experience under my belt. At the time though I was still trying to improve, and one thing that I was trying on this neck was to be more deliberate about the lines and angles on the neck, and how I sanded in the fretboard radius with a radius-block. So proud of it was I that I left quite a pronounced edge between the sides of the fretboard: a mark that I’d been able to do so, have that much precision and control.
However, as nice as it was visually, and it didn’t bother me much, fast forward five years and I have to confess that line bugs me, and as I’ve built more guitars, and particularly having played the guitars I’ve made in the last couple of years, I now go back to this one and wish I was playing one of the newer builds, where I’ve rolled over the edges of the fretboard to make it feel smoother under the hand as I play. Similarly, those newer necks have much better fret-dressing on them as I’ve learned from my workshop-mates, with rounded fret-ends in particular being something I now put the effort in to do.
To do a full update to this neck to make it as good as those new builds would require pulling the frets out and starting over, and the frets in general are not worn and well levelled, so I don’t really want to go that far. Instead, I’ll do the best I can with the frets still in, just to get it so that it feels good under the hand, rather than having it look perfect if you were to inspect it.
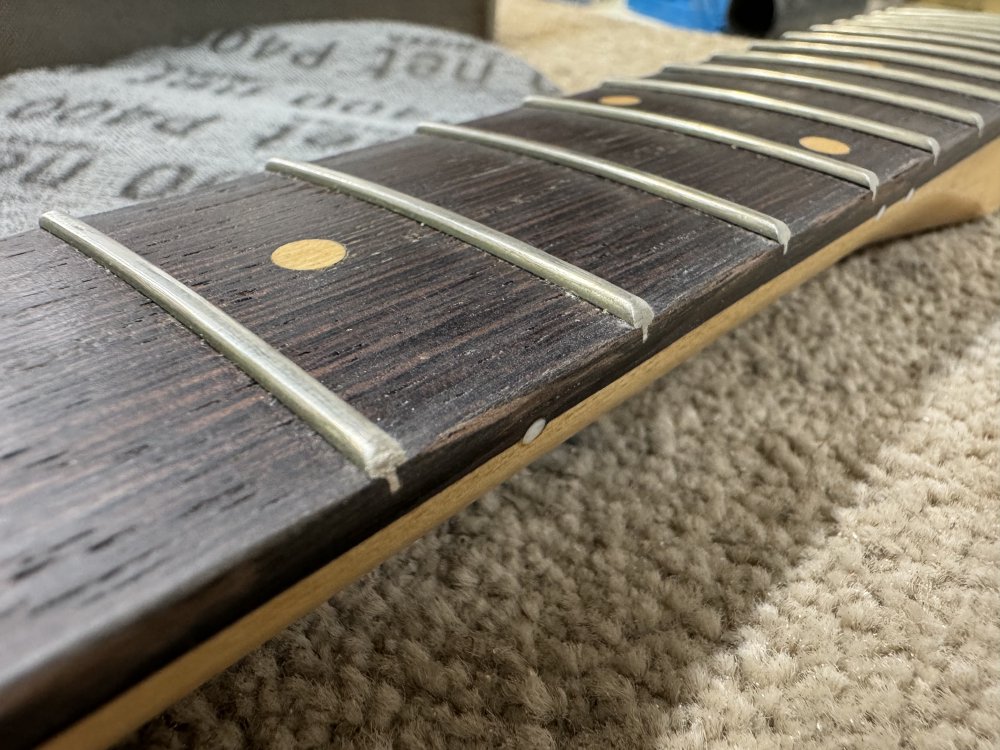
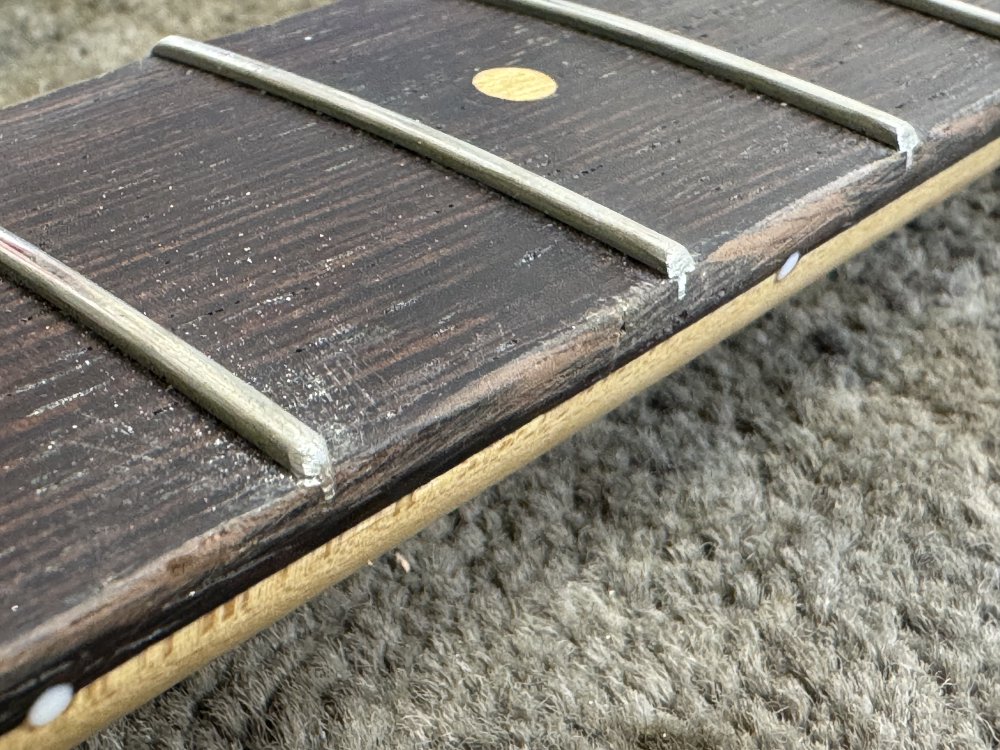
What am I talking about? Well, the problem is that I can’t round over the edge of the fretboard where the frets are, the best I can do is round over the gap in between, which means you end up with this lens-like shaped rounding effect where it comes to a sharp edge under the fret, and rounds over at most in the middle and transitions between the two either side of that. Not sure that makes sense in text, so here’s an annotated picture to try show it a bit better:
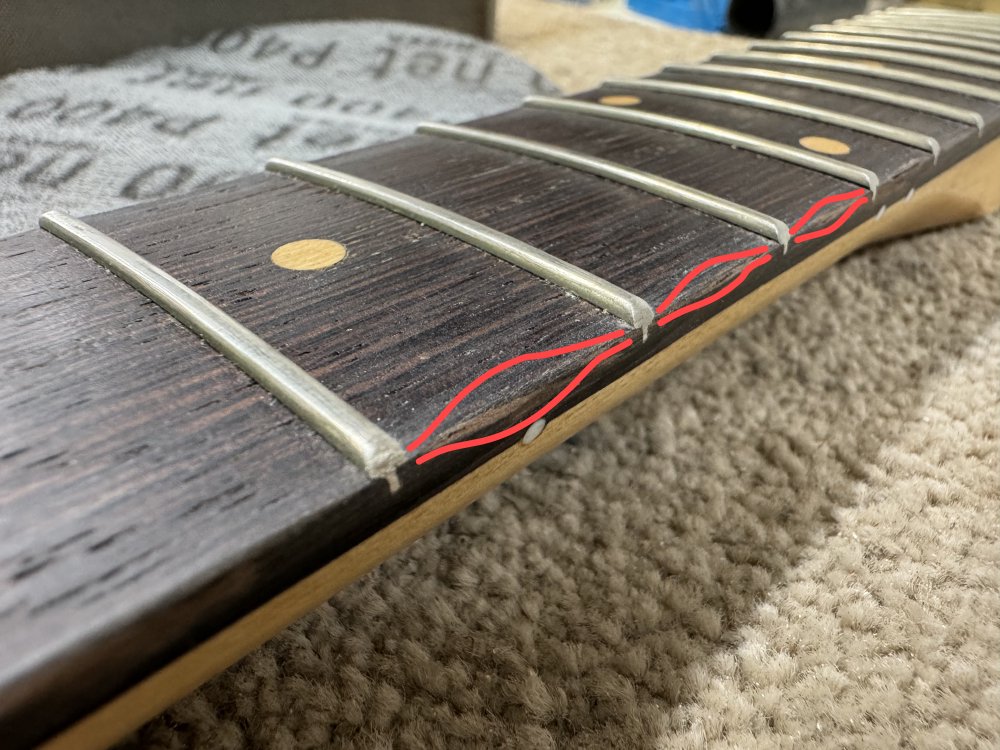
It’s not the best visually, but under the hand it feels pretty close - not as good as had I removed the frets and done it properly, but most the way there.
With that done, I then also rounded over the fret-ends as I have done on my newer builds:
All looks a bit ugly at this stage, but they’ll polish up! But I wanted to share this shot as you can see how different a profile I put on the frets these days (rounded on the left) compared to yesteryear (with a clearly filed end middle and right).
Doing all 42 fret-ends is slow work, but I’ve had enough practice now that I can do it in an hour or so, and I just put on a video to pass the time:
Once the fret-end shaping was done, I then had to sand and polish everything up again, making everything smooth, and I’m now just going through the stage of re-oiling the neck to protect it where I removed the finish before having done all this work.
Hopefully this will be enough to make it feel as good under the hand as my new builds, and if not then I can always actually pull the frets and restart, but like with the old strat-clone, I’d rather save what I can and not be wasteful if possible.